Most guides make framing a diamond painting look simple. In reality, this is where many finished pieces get damaged. Drills start popping off, the canvas bends, or the frame just doesn’t sit right. These issues don’t come from bad kits — they usually come from small mistakes during framing.
This guide focuses on what actually goes wrong and how to avoid it. If you're just getting started, it also helps to understand the basics of diamond painting kits before you move to framing.
1. Before You Even Think About a Frame
A common situation: the painting is finished, and only then comes the question of framing. That’s often too late.
Many people assume they can just buy a frame that matches the canvas size. In practice, the edges of a diamond painting are rarely perfectly clean or even. When the frame is too tight, the canvas gets forced in, which can cause slight warping or pressure on the drills near the edges.
A safer approach is to plan a small margin around the artwork. It gives you flexibility later and avoids the need for trimming, which rarely looks clean. If the frame ends up slightly smaller than the canvas, people often force it in — that’s when edges warp and drills near the border start lifting.

2. Choosing the Right Frame (What People Get Wrong)
The biggest mistake here is focusing only on dimensions.
A frame that fits “exactly” often becomes a problem once the painting is mounted. Even slight pressure from the glass can flatten drills and reduce the shine, which is one of the main reasons people choose diamond painting in the first place.
Many experienced users end up going one size up and using a backing board to stabilize the piece. It gives better control and avoids tension inside the frame.
Material matters as well. Lightweight plastic frames may seem convenient, but they tend to flex over time, especially with larger pieces. A simple wooden frame usually holds shape better and feels more stable once mounted. A regular photo frame can work, but only if it doesn’t press directly on the surface and you add a backing board to keep everything flat.
Quick decision guide:
-
Use a slightly larger frame if your canvas edges are uneven.
-
Choose wood if the painting is medium or large.
-
Avoid tight glass contact if you want to keep the sparkle.
-
Use backing board to control positioning instead of forcing the fit.
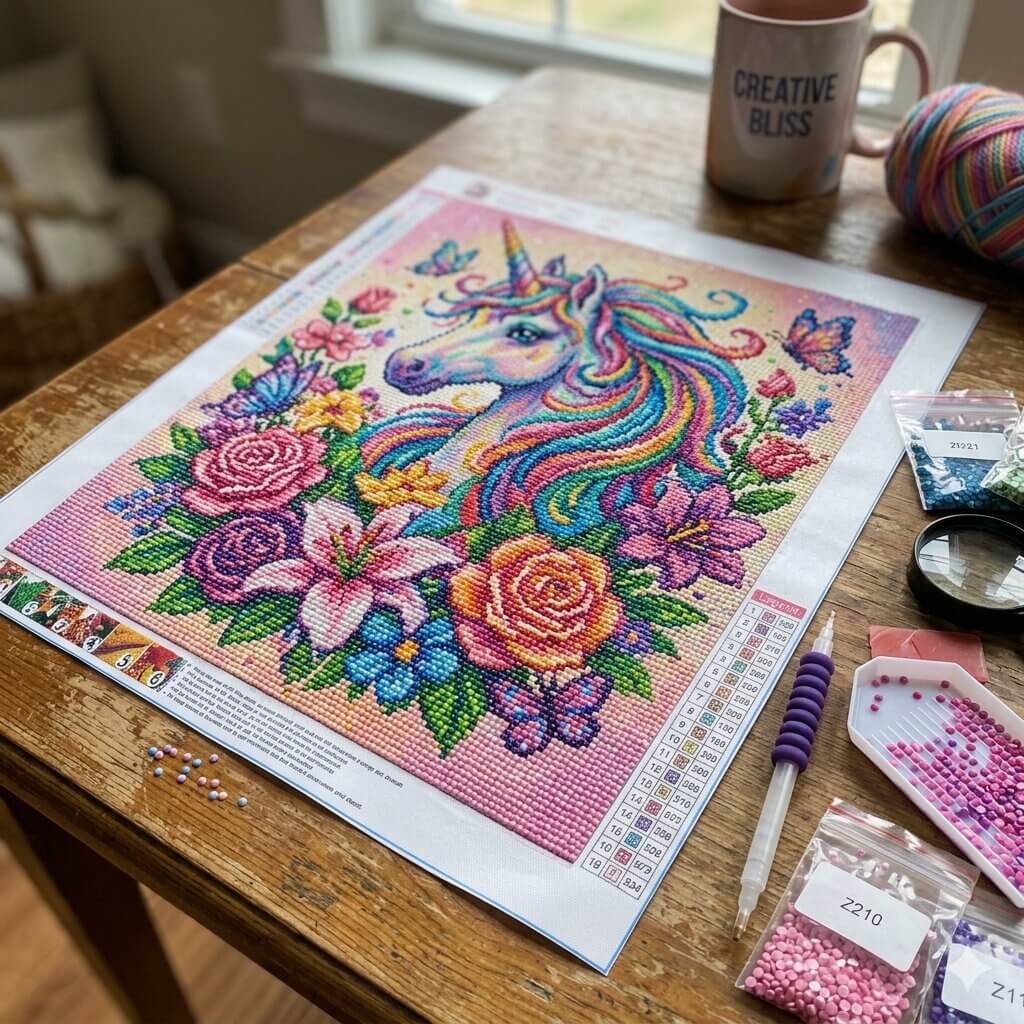
3. Preparing the Painting (This Step Is Often Skipped)
If you're working with a personal image, the preparation step becomes even more important — especially with custom diamond painting where details matter more.
This is the step that decides whether your painting will hold together long term.
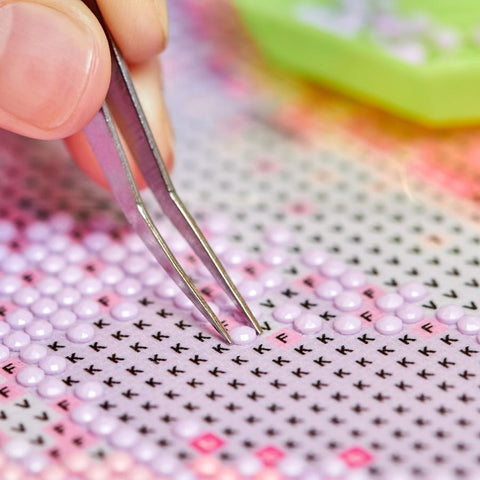
Even if everything looks finished, drills are not always fully pressed into the adhesive layer. This becomes visible only after framing, when small gaps or loose pieces start appearing.
Before framing, do a quick preparation check:
-
Press the surface with a roller or a heavy book.
-
Check the edges, where loose drills usually appear first.
-
Remove dust with a lint roller.
-
Look for any drills sitting higher than the rest.
This small check prevents the most annoying problem: noticing loose or uneven drills only after the painting is already framed.
4. Sealing or Not: The Decision That Changes the Result
At this point, there’s one question people often debate: should the painting be sealed or not?
You’ll often see advice to seal first and frame later. While that sounds safe, it’s not always the best choice.
In most cases, sealing is not necessary. Many finished diamond paintings hold well on their own if the drills were properly pressed. Leaving the surface unsealed keeps the natural shine and avoids unwanted changes in texture.
Sealing becomes relevant only when there are visible issues, such as drills that keep lifting or edges that don’t stay in place. Even then, problems usually come from using too much glue or the wrong type of sealant. The result can look cloudy or slightly sticky, which is difficult to fix afterward.
This is why many experienced users avoid sealing unless there is a real problem — not as a default step.
Use this simple rule:
-
If drills are secure, do not seal.
-
If edges lift, press first before adding anything.
-
If drills still move, use a very thin sealant layer.
-
Never flood the surface with glue.
A light, controlled application works best if sealing is needed. More is not better in this case.
5. How to Mount Your Diamond Painting (Methods That Actually Work)
Once the surface is ready, the next step is attaching the painting to a stable base.
Foam board is one of the most practical options. It keeps the canvas flat without adding much weight and is easy to cut to size. This is why many people choose it for standard framing. If your painting looks slightly wavy inside the frame, it’s usually because there’s no rigid backing — foam board fixes that.
Stretcher bars offer a different result. Instead of placing the painting behind glass, the canvas is stretched and displayed like a traditional painting. This avoids pressure on the drills and creates a cleaner, more finished look, although it requires a bit more effort.
Quick comparison:
-
Foam board: best for simple framing and flat display.
-
Stretcher bars: best for a canvas-style finish without glass.
-
Shadow box backing: best when you need extra space for the drills.
-
Thin cardboard: not ideal, because it can bend over time.
Some shortcuts, like thin cardboard or weak adhesive tapes, tend to fail over time. They might look fine at first, but the canvas can start bending or detaching after a few weeks.
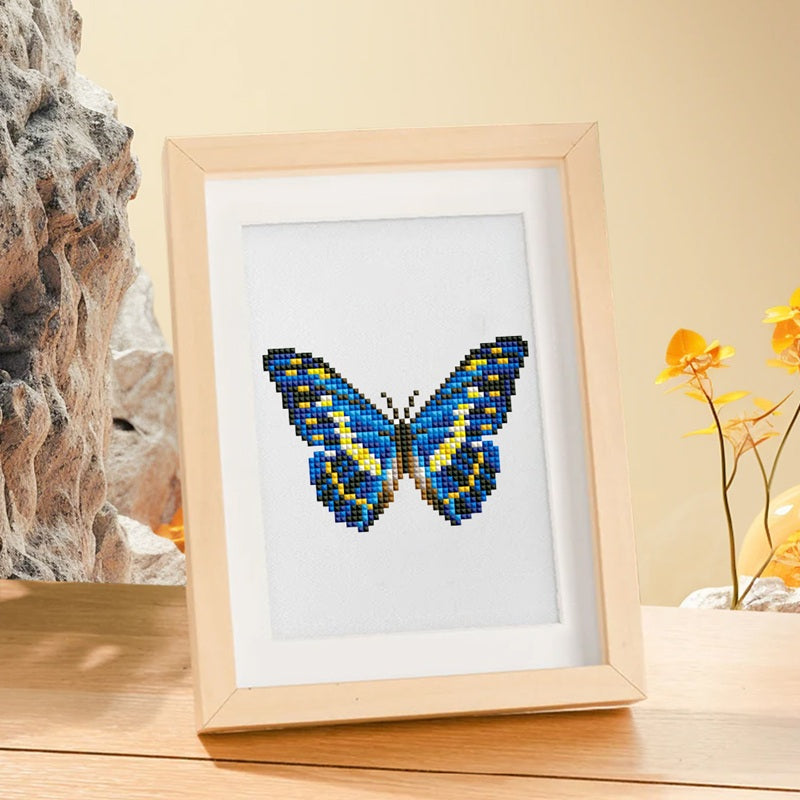
6. Frame Types and What to Expect
Not every frame works equally well for diamond painting.
Shadow box frames are often the safest choice. They provide extra space between the painting and the front layer, so nothing presses against the drills. This helps preserve the texture and shine.
Standard frames with glass can still work, but they need more attention. The common dilemma is whether to keep the glass at all. Glass protects from dust, but if it sits directly on the drills, it can flatten them and reduce the shine over time. Many people only notice the painting looks dull after framing — this usually happens because the glass is pressing on the drills. This is why many experienced users either add a spacer to create a gap or remove the glass entirely when sparkle matters more than protection.
Floating frames are more about appearance. They create a modern look, especially when used with stretched canvases, but they require more precise mounting.
Use this quick decision logic:
-
Choose shadow box if you want zero pressure on drills.
-
Choose glass frame if you want protection, but add spacing.
-
Choose no-glass setup if shine matters more than dust protection.
-
Choose floating frame only if the canvas is already stretched.
One common issue people report later: frames with glass pressed directly on drills lose their shine after a few weeks.
7. Display Mistakes That Show Up Later
Once everything is framed, the job isn’t fully done.
Placement has a bigger impact than most people expect. Direct sunlight can slowly affect colors, and humidity may weaken the adhesive over time. These changes are gradual, but noticeable after a while.
Before hanging it, check three things:
-
Avoid direct sunlight.
-
Avoid humid rooms.
-
Use hooks strong enough for the full frame weight.
Another common issue is hanging. Larger diamond paintings are heavier than they look, and simple nails are often not enough. This is why some framed pieces end up slightly tilted or even fall.
Conclusion
If you're unsure about earlier steps like finishing or sealing, it's worth checking a detailed guide on how to seal a diamond painting properly before framing — it can prevent most of the issues described above.
Framing a diamond painting is less about following steps and more about avoiding small mistakes that add up.
Most problems don’t appear immediately. They show up days or weeks later — loose drills, bent canvas, or a frame that doesn’t hold properly.
In many cases, people realize too late that the issue started with a small decision: frame size, mounting method, or sealing.
Taking a bit more time during preparation and choosing the right materials makes the difference between a piece that looks good for a moment and one that stays in good condition long term.
If you’re deciding right now: go slightly bigger on the frame, avoid unnecessary sealing, and make sure nothing presses directly on the drills.